Przekompilować OpenSSL 1.1 & NGINX 1.25 dla TLS 1.3 (CentOS 7), postępując zgodnie ze scenariuszem, w którym masz już zainstalowany na serwerze o starsza wersja openssl powiązany z usługą nginx.
Dokładniej, aby móc aktywować OpenSSL 1.1.1t za usługę NGINX, który działa ze starszą wersją. OpenSSL 1.0.2k.
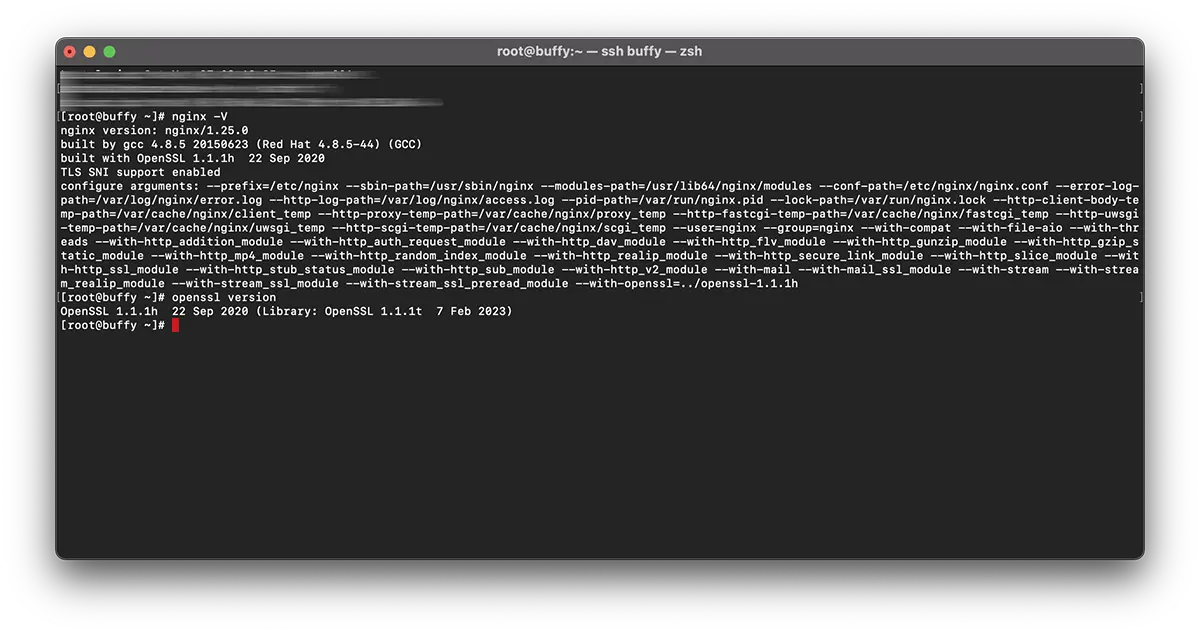
# nginx -V
nginx version: nginx/1.25.0
built by gcc 4.8.5 20150623 (Red Hat 4.8.5-44) (GCC)
built with OpenSSL 1.0.2k-fips  26 Jan 2017
TLS SNI support enabled
# openssl version -a
OpenSSL 1.1.1t 7 Feb 2023Oznacza to, że istnieją dwie różne wersje OpenSSL. Wersja zainstalowana w systemie przez „yum"(1.0.2k-fips) i wersja OpenSSL instalowane przez ręczną kompilację (openssl 1.1.1t).
Klasycznie większość zaleca ponowną instalację „OpenSSL' na poziomie serwera. Wiązałoby się to z wykonaniem polecenia: yum remove openssl. Ale jest tu duży problem. Wraz z odinstalowaniem starej wersji OpenSSL, może być również konieczne odinstalowanie niektórych aplikacji zależnych. Jak na przykład: nginx, MariaDB-server, cerbotPlus wiele innych.
Prostszym rozwiązaniem jest ponowna kompilacja openssl 1.1 & nginx 1.25 dla TLS 1.3.
Zawartość
Ponowna kompilacja samouczka OpenSSL 1.1 & NGINX 1.25 dla TLS 1.3 (CentOS 7)
W moim przykładzie rekompilacja jest dla nginx/1.25.0 & OpenSSL 1.1.1h korzystając z księgarni OpenSSL 1.1.1t.
Ponownie skompiluj NGINX.
1. Utwórz plik: nginx-with-tls13-compile.sh
sudo nano nginx-with-tls13-compile.shgdzie dodajesz skrypt:
#!/bin/bash

## nginx
NGINX=nginx-1.25.0.tar.gz

if [ ! -f "${NGINX}" ];then
    wget https://nginx.org/download/${NGINX}
fi

ND=$(basename $NGINX .tar.gz)
if [ ! -d "${ND}" ];then
    tar zxvf ${NGINX}
fi

cd ${ND}

## pre require package
## yum install gcc pcre-devel zlib-devel

./configure --prefix=/etc/nginx \
    --sbin-path=/usr/sbin/nginx \
    --modules-path=/usr/lib64/nginx/modules  \
    --conf-path=/etc/nginx/nginx.conf \
    --error-log-path=/var/log/nginx/error.log \
    --http-log-path=/var/log/nginx/access.log \
    --pid-path=/var/run/nginx.pid \
    --lock-path=/var/run/nginx.lock \
    --http-client-body-temp-path=/var/cache/nginx/client_temp \
    --http-proxy-temp-path=/var/cache/nginx/proxy_temp \
    --http-fastcgi-temp-path=/var/cache/nginx/fastcgi_temp \
    --http-uwsgi-temp-path=/var/cache/nginx/uwsgi_temp \
    --http-scgi-temp-path=/var/cache/nginx/scgi_temp \
    --user=nginx \
    --group=nginx \
    --with-compat \
    --with-file-aio \
    --with-threads \
    --with-http_addition_module \
    --with-http_auth_request_module \
    --with-http_dav_module \
    --with-http_flv_module \
    --with-http_gunzip_module \
    --with-http_gzip_static_module \
    --with-http_mp4_module \
    --with-http_random_index_module \
    --with-http_realip_module \
    --with-http_secure_link_module \
    --with-http_slice_module \
    --with-http_ssl_module \
    --with-http_stub_status_module \
    --with-http_sub_module \
    --with-http_v2_module \
    --with-mail \
    --with-mail_ssl_module \
    --with-stream \
    --with-stream_realip_module \
    --with-stream_ssl_module \
    --with-stream_ssl_preread_module \
    --with-openssl=../$(basename $OPENSSL .tar.gz)

make

sudo make install

nginx -V
Zapisz nowy plik.
2. Ustaw nowy plik jako wykonywalny:
chmod +x nginx-with-tls13-compile.shPrzepisać nginx.service
3. Wykonaj kopię zapasową nginx.service.
cat /lib/systemd/system/nginx.service > /srv/nginx_service.txt(możesz wybrać dowolną ścieżkę nginx_service.txt)
4. Utwórz plik dla usługi nginx: nginx.service
sudo nano nginx.service5. W pliku nowy plik nginx.service dodaj linie:
##  /lib/systemd/system/nginx.service

[Unit]
Description=The NGINX HTTP and reverse proxy server
After=syslog.target network.target remote-fs.target nss-lookup.target

[Service]
Type=forking
PIDFile=/run/nginx.pid
ExecStartPre=/usr/sbin/nginx -t
ExecStart=/usr/sbin/nginx
ExecReload=/usr/sbin/nginx -s reload
ExecStop=/bin/kill -s QUIT $MAINPID
PrivateTmp=true

[Install]
WantedBy=multi-user.target
6. Skopiuj plik do „daemon".
sudo cp nginx.service /lib/systemd/system/nginx.service7. Po skopiowaniu pliku zaktualizuj uprawnienia do pliku za pomocą polecenia:
sudo chmod 644 /lib/systemd/system/nginx.service8. Załaduj ponownie konfigurację systemd aby uwzględnić zmiany za pomocą polecenia:
sudo systemctl daemon-reload9. Uruchom ponownie ngnix.
sudo systemctl restart nginxPrzekompilować OpenSSL / NGINX dla TLS 1.3
10. W tym samym folderze, w którym znajdują się pliki nginx-with-tls13-compile.sh şi nginx.service, utwórz nowy plik: openssl-1.1-compile.sh.
sudo nano openssl-1.1-compile.shDodaj skrypt:
#!/bin/bash

## Compile OpenSSL
OPENSSL=openssl-1.1.1h.tar.gz

DONE=openssl-compile-done

if [ ! -f "${DONE}" ] ;then
    wget https://www.openssl.org/source/${OPENSSL}

    tar zxvf ${OPENSSL}

    cd $(basename $OPENSSL .tar.gz)

    ./config shared no-idea no-md2 no-mdc2 no-rc5 no-rc4 --prefix=/usr/local/

    make

    sudo make install

    cd ..

    touch ${DONE}
fi

export LD_LIBRARY_PATH=$LD_LIBRARY_PATH:/usr/local/lib64/

read -n1 -r -p "$(/usr/local/bin/openssl version) - Press any key to continue..." key

source ./nginx-with-tls13-compile.sh
Zastępować "OPENSSL=openssl-1.1.1h.tar.gz” z wersją, którą chcesz zainstalować i przekompilować za pomocą NGINX.
11. Ustaw skrypt jako wykonywalny:
chmod +x openssl-1.1-compile.sh12. Uruchom polecenie:
./openssl-1.1-compile.shPoczekaj na zakończenie procesu ponownej kompilacji OpenSSL & NGINX.
Jeśli możemy Ci pomóc lub trzeba coś dodać, sekcja komentarzy jest otwarta.